目录
一、基本介绍
https://zhuanlan.zhihu.com/p/705273664
https://blog.csdn.net/benkaoya/article/details/129469116
http://www.360doc.com/content/24/0328/22/81013658_1118669943.shtml
二、安装
1.Debian aarch64平台
apt-cache search qemu可以查看各种版本的qemu,一般名称为qemu-system-target,其中target代表qemu启动的虚拟机的架构。比如qemu-system-x86只能启动x86架构的虚拟机。
比如安装target为x86架构的qemu:
sudo apt-get install qemu-system-x86
其它的和qemu相关的插件可以选择性安装:sudo apt install qemu-kvm qemu virt-manager virt-viewer libvirt-daemon-system libvirt-clients bridge-utils
qemu-system-aarch64 使用
https://devpress.csdn.net/linux/66d00dd1c618435984a381d7.html
- 报错: failed to find romfile "efi-virtio.rom"
网上大多数教程都是安装ipxe-qemu,不管用,最后添加-L参数成功解决!添加参数-L pc-bios/
而我恰巧是安装ipxe-qemu解决
x86平台
x86平台上安装aarch64的虚拟机:https://blog.csdn.net/chenxiangneu/article/details/78955462
2.windows安装qemu
https://zhuanlan.zhihu.com/p/670696946
qemu windows版下载:https://qemu.weilnetz.de/w64/
三、qemu支持的文件格式

1.文件格式转换
- vmdk转raw
sudo qemu-img convert -f vmdk -O raw openwrt.vmdk openwrt.raw
qemu-system-x86_64 -drive file=openwrt.raw,format=raw -m 2048M
2.转换工具(qemu-img)
qemu-img工具需要安装 apt-get install qemu-utils
-
查看镜像格式
qemu-img info openwrt.img -
转换img为raw格式文件
qemu-img convert -f raw -O raw openwrt.img openwrt.raw
3.raw,qcow2格式区别
https://blog.51cto.com/u_16213680/10623596
raw: 裸格式,占用空间比较大,不支持快照功能,性能较好,
qcow2:占用空间小,支持快照,性能比raw差一点 //q就是qemu的缩写,cow 是英文 (copy on write):写时复制
四、qemu源码编译
aarch64交叉编译
尝试1:
网上的说法:
../configure --target-list=aarch64-softmmu  --prefix=/home/qemu_source/out_install
make -j1
make install
但是file查看目标文件仍然是x86架构:
root@ubuntu:/home/qemu_source/out_install/bin# file qemu-system-aarch64
qemu-system-aarch64: ELF 64-bit LSB shared object, x86-64, version 1 (SYSV), dynamically linked, interpreter /lib64/ld-linux-x86-64.so.2, BuildID[sha1]=e752d444c8be811feae5319ea6ddb47ab24014db, for GNU/Linux 3.2.0, with debug_info, not stripped原因是:--target-list参数是指明要模拟的系统是aarch64架构的,并不是编译的目标文件是aarch64架构的。

尝试2:
尝试
../configure --target-list=x86_64-softmmu --prefix=/home/qemu/out_install/ --enable-virtfs --enable-slirp --enable-sdl --cross-prefix=aarch64-linux-gnu-
-
报错1:
ubuntu:Python‘s ensurepip module is not found.,通过https://blog.csdn.net/vic_555/article/details/134447131的方法,
apt-get install python-venv,注意有的不叫python-venv,可能是pythonXX-venv. -
报错2:
直接在目标机里编译
../configure --target-list=x86_64-softmmu --prefix=/home/qemu/out_install --enable-virtfs --enable-slirp --enable-sdl
可能会有一些依赖库需要安装
sudo apt-get install ninja-build
- 再次编译报错:
../util/userfaultfd.c: In function ‘uffd_open’:
../util/userfaultfd.c:53:32: error: ‘USERFAULTFD_IOC_NEW’ undeclared (first use in this function); did you mean ‘USERFAULTFD_H’?
53 |         return ioctl(uffd_dev, USERFAULTFD_IOC_NEW, flags);
  |                                ^~~~~~~~~~~~~~~~~~~
  |                                USERFAULTFD_H
../util/userfaultfd.c:53:32: note: each undeclared identifier is reported only once for each function it appears in
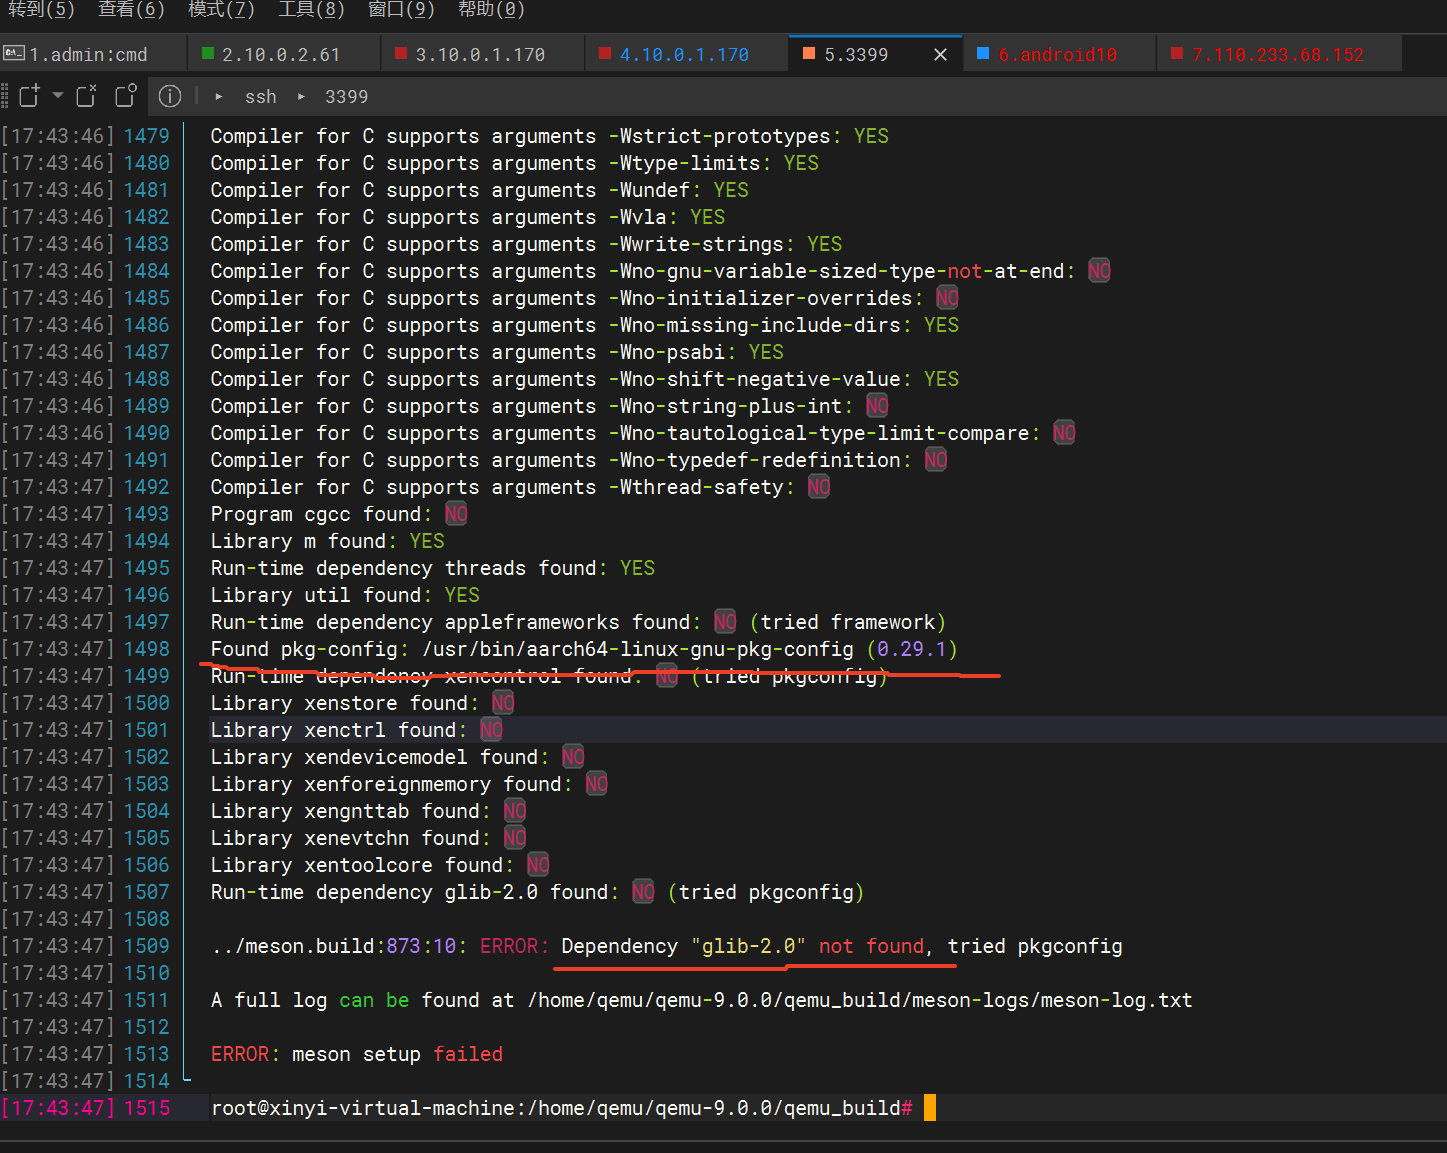
尝试3:
直接在debian aarch64设备上编译,不通过交叉编译,编译成功。
ninja -j8
ninja install
五、运行openwrt全套完整流程
https://cclinuxer.github.io/2021/01/OpenWrt%E8%BF%9B%E8%A1%8Cqemu%E6%A8%A1%E6%8B%9F/
0 条评论